How to Grow Chili Peppers from Store-Bought Produce

Growing chili peppers from store-bought produce is an easy and cost-effective way to cultivate your own spicy fruits at home. This method enables you to experiment with different chili varieties and enjoy the satisfaction of nurturing plants from seed to harvest.
Are you a chili pepper lover who wants to learn how to grow chili pepper plants at home? Look no further! Click below to find out which must-have books will guide you through the process of growing your own chili peppers...
By carefully selecting healthy store-bought peppers, extracting their seeds, and following proper germination techniques, you can successfully grow your own chili plants to spice up your favorite dishes.
In this guide, we will walk you through the process of selecting the right peppers, preparing the seeds for germination, and caring for your chili plants as they grow. With patience, proper care, and the right growing conditions, you'll soon be harvesting your own delicious chili peppers, ready to add heat and flavor to your meals.
Table of Contents
Choosing the Right Store-Bought Chili Peppers
Before starting the process, it's essential to choose ripe, high-quality chili peppers from the store. Look for peppers that are firm, vibrant in color, and free of blemishes. Keep in mind the variety of chili peppers available, and select one based on your heat tolerance and desired flavor.
Extracting and Preparing Seeds
Step 1: Extracting the Seeds
To extract the seeds from your store-bought chili peppers, follow these steps:
- Put on gloves to protect your hands from the capsaicin, the compound responsible for the heat in chili peppers.
- Cut the chili pepper open with a sharp knife, exposing the inner core and seeds.
- Carefully scrape the seeds out onto a clean, dry surface.
It is essential to save the seeds properly to ensure their viability.
Step 2: Cleaning the Seeds
To clean the seeds, rinse them under cool water to remove any residual flesh. Pat them dry with a clean paper towel, then lay them out on a flat surface to air dry for 24-48 hours. Proper seed cleaning and drying is crucial, as it helps prevent mold and diseases.
Step 3: Storing the Seeds
Store the dried seeds in a labeled paper envelope or a small, airtight container until you are ready to plant them. Keep them in a cool, dry place. For more information on seed storage, check out these chili pepper seed saving and storage tips.
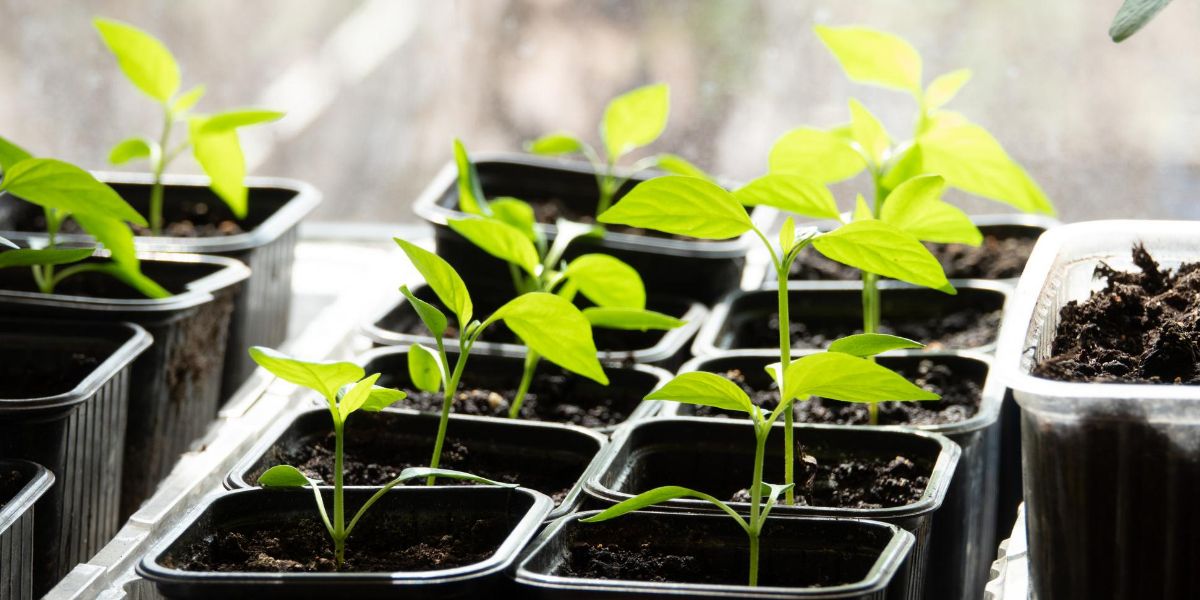
Planting the Seeds
Before planting, you may want to soak the chili seeds for a few hours to soften the seed coat and speed up germination.
Step 1: Preparing the Soil
Choose a well-draining potting mix designed for chili peppers or make your own using equal parts of perlite, peat moss, and compost. If you're unsure about the soil, read our guide on what soil chili plants like.
Step 2: Planting the Seeds
Fill a suitable pot or grow bag with the prepared soil. Plant the seeds about 1/4-inch deep, spacing them at least 1 inch apart. Cover the seeds gently with soil and water them lightly.
Place the pot in a warm, sunny spot or under grow lights if you're growing them indoors. The optimal temperature for growing chilies is between 70°F and 85°F.
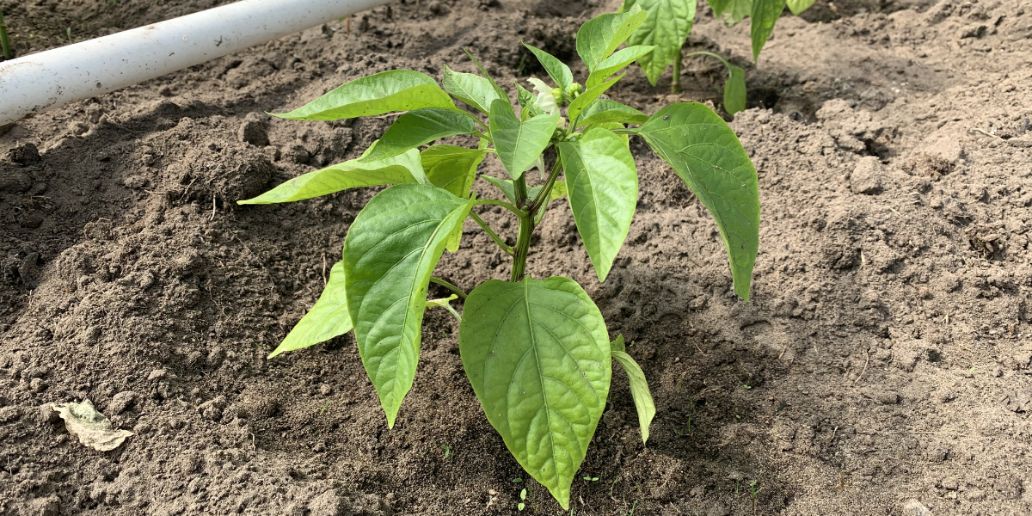
Step 3: Germination
Chili seeds can take anywhere from 7 to 21 days to germinate, depending on the variety and growing conditions. Be patient and maintain consistent moisture in the soil during this time. To speed up germination, you can use a heat mat or place the pot in a warm location.
Caring for Your Chili Plants
Once your chili plants have germinated, they will require proper care to ensure healthy growth and fruit production.
Watering
Chili plants have different watering requirements depending on their growth stage. Generally, water the plants when the top inch of soil feels dry to the touch. Be cautious not to overwater, as this can lead to root rot and other diseases.
Fertilizing
Feed your chili plants with a balanced, slow-release organic fertilizer to provide essential nutrients for growth and fruit production. You can also amend your soil with compost or worm castings for additional nutrients.
Pruning
Prune your chili plants to encourage bushier growth and higher yields. Learn how to prune chili plants effectively to avoid damaging the plant or reducing fruit production.
Supporting the Plants
Chili plants may require support as they grow taller and produce fruit. Stakes or plant support systems can help prevent the plants from bending or breaking under the weight of their fruits.
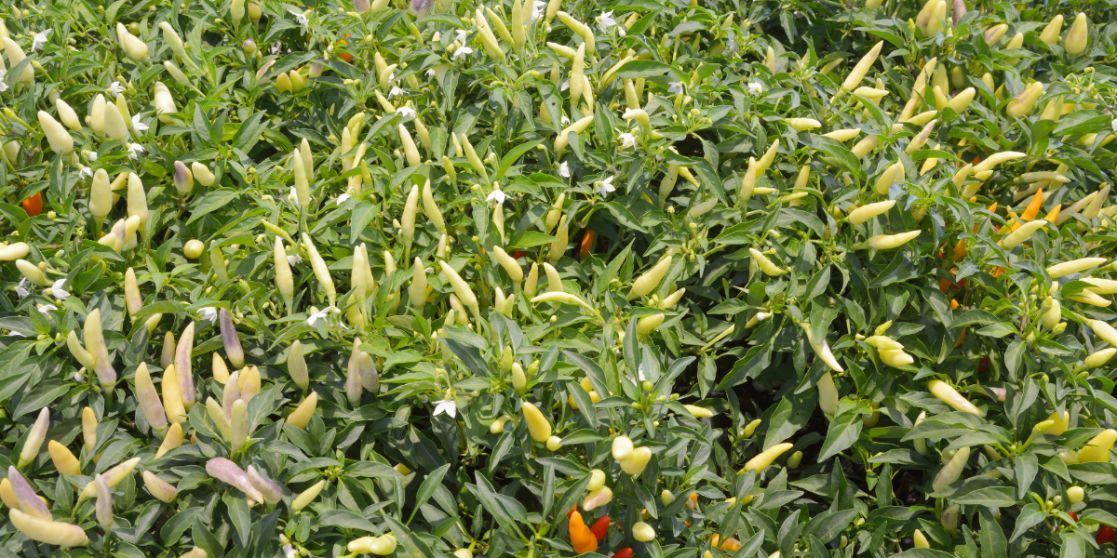
Pollination
Chili plants are self-pollinating, but you can increase fruit production by hand pollinating. Gently shake the plants or use a small paintbrush to transfer pollen from one flower to another.
Harvesting Your Chili Peppers
Your chili peppers will be ready to harvest when they reach their full size and color, usually between 60 and 150 days after planting, depending on the variety. Use a pair of gardening shears or pruners to cut the fruit from the plant, leaving a small stem attached to the pepper.
Additional Resources and Tips
For more information on growing chili peppers, check out these resources:
- Growing Chili Peppers Vertically
- Chili Pepper Disease Prevention and Treatment Strategies
- The Impact of pH Levels on Chili Plant Growth and Development
- The Role of Calcium in Preventing Blossom End Rot in Chili Peppers
- The Best Companion Plants for Peppers
- Tips for Growing Chili Peppers in Cold Climates
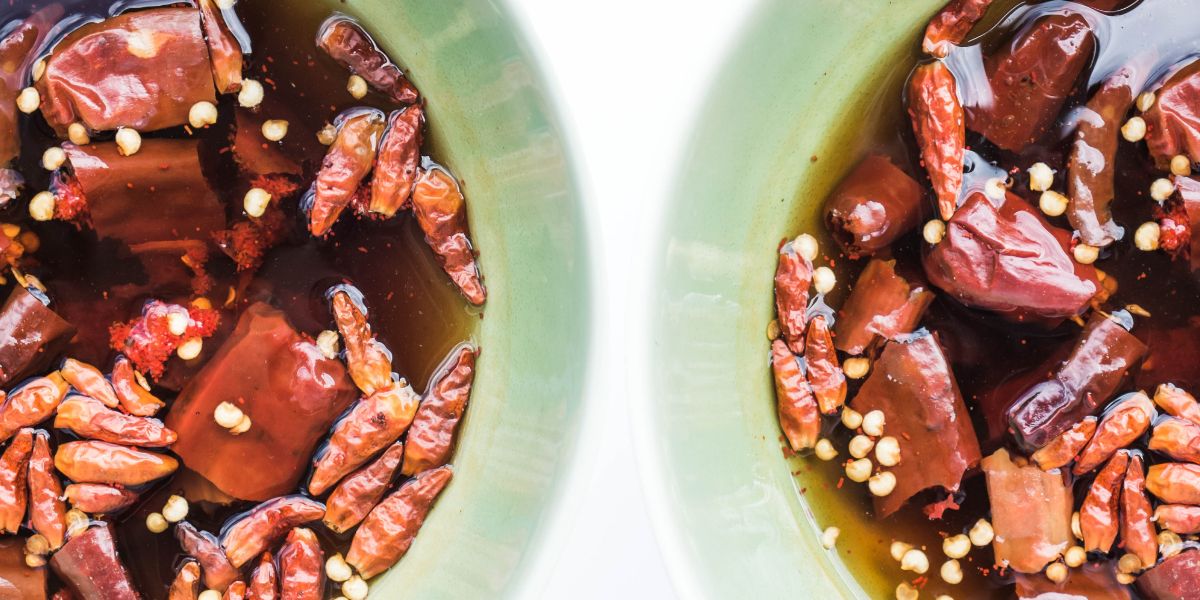
Preserving Your Chili Peppers
Once you've harvested your chili peppers, you can preserve them for long-term use by drying, making chili pepper powder, or pickling.
Expanding Your Chili Growing Skills
As you become more experienced in growing chili peppers, you may want to explore different techniques, such as growing chilies in a greenhouse, cloning chili plants, or growing chili plants over winter.
Further Reading
To continue learning about chili pepper cultivation and cooking, discover these must-have books on the subject.
Growing chili peppers from store-bought produce is a rewarding and cost-effective way to enjoy these spicy fruits. With patience, proper care, and the right growing conditions, you'll soon be harvesting your own delicious chili peppers to spice up your favorite dishes.