How to Make Your Own Chili Pepper Powder at Home
Making your own chili pepper powder at home is a great way to preserve your chili harvest and add a burst of flavor to your favorite dishes.
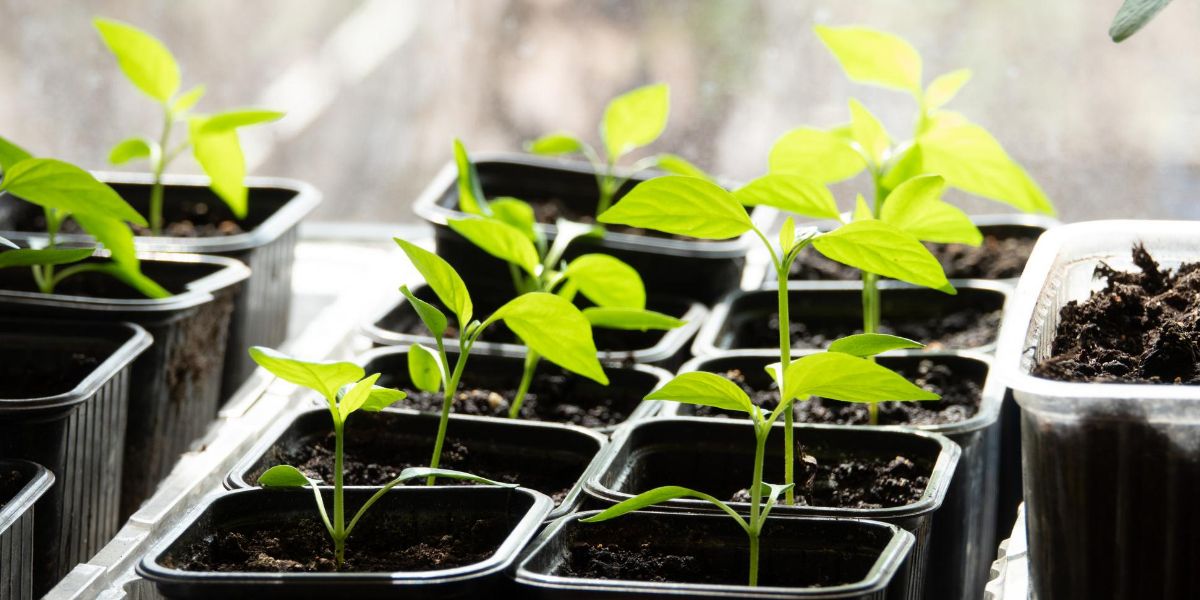
Are you a chili pepper lover who wants to learn how to grow chili pepper plants at home? Look no further! Click below to find out which must-have books will guide you through the process of growing your own chili peppers...
In this guide, we'll walk you through the process step by step, from selecting the right chili peppers to grinding and storing your homemade powder.
Table of Contents
- Choosing the Right Chili Peppers
- Drying Your Chili Peppers
- Preparing Chili Peppers for Grinding
- Grinding Your Dried Chili Peppers
- Storing Your Homemade Chili Powder
- Using Your Chili Powder in Recipes
- Experiment with Blends and Flavors
- Safety Precautions When Handling Chili Peppers
- Gifting Your Homemade Chili Powder
- Conclusion
Choosing the Right Chili Peppers
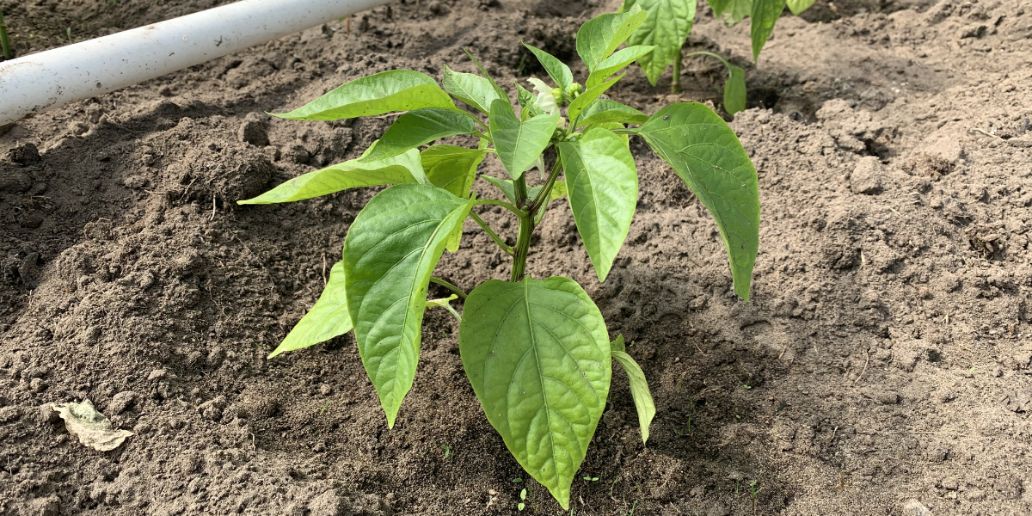
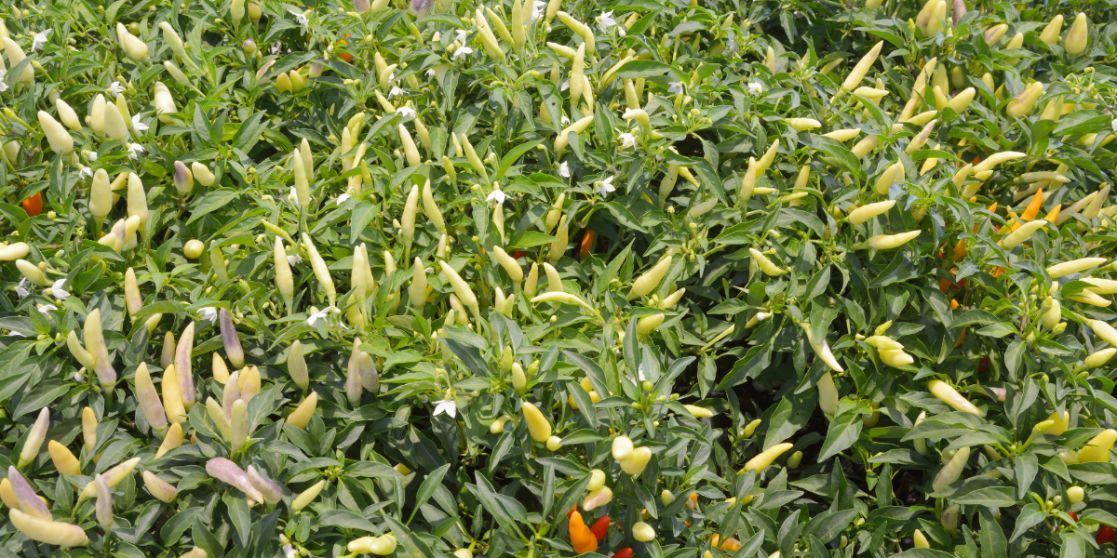
Before you start making your chili powder, you'll need to choose the right chili peppers. There are countless chili pepper varieties, ranging from mild to super-hot. When selecting chili peppers, consider their heat level, flavor profile, and how easy they are to grow.
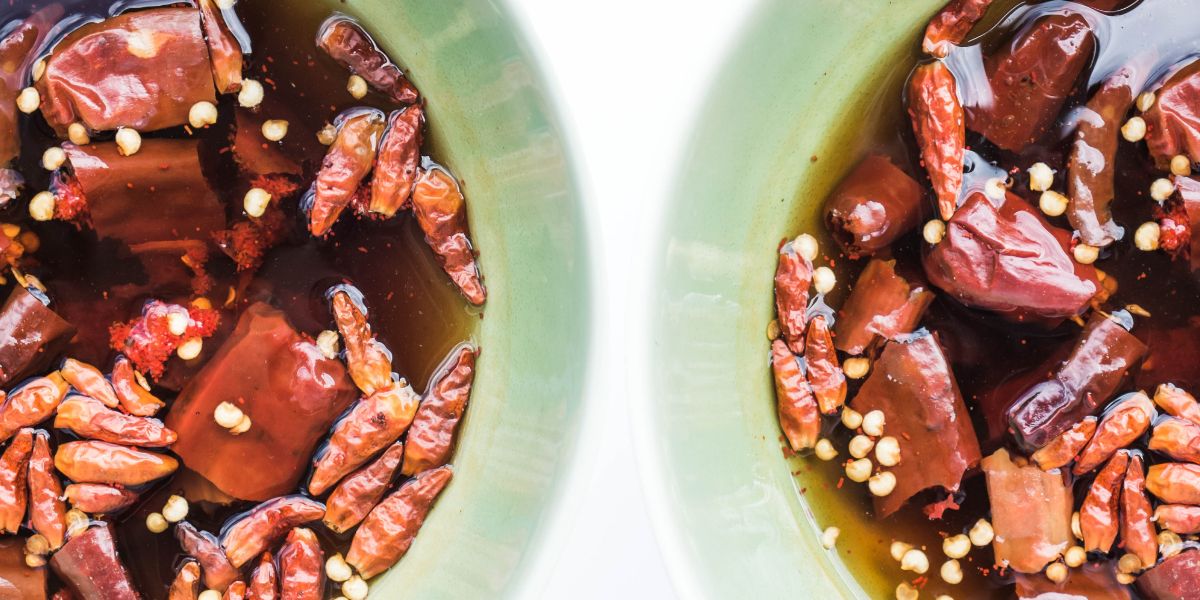
For the best results, use fresh, ripe chili peppers from your own garden or local farmers market. If you don't have access to fresh peppers, you can also use dried chili peppers purchased from a store.
Drying Your Chili Peppers
To make chili powder, you'll first need to dry your chili peppers. There are several methods for drying chili peppers, including air drying, using a dehydrator, or using an oven. Regardless of the method you choose, be sure to follow best practices for preserving chili peppers to maintain their flavor and prevent spoilage.
Air Drying
Air drying is a simple and energy-efficient method for drying chili peppers. String the chili peppers together using a needle and thread, leaving a small gap between each pepper for air circulation.
Hang the string in a warm, dry, and well-ventilated area away from direct sunlight. Depending on the humidity and temperature, air drying can take 2-4 weeks.
Using a Dehydrator
A dehydrator can speed up the drying process, typically taking 8-12 hours. Follow the manufacturer's instructions for your specific dehydrator, and be sure to check the peppers periodically for doneness.
Oven Drying
To dry chili peppers in an oven, preheat your oven to its lowest temperature setting (usually around 150°F or 65°C).
Arrange the chili peppers in a single layer on a baking sheet lined with parchment paper. Place the baking sheet in the oven and prop the door open slightly to allow moisture to escape.
Oven drying can take 4-8 hours, depending on the size and moisture content of the peppers. Check the peppers frequently to prevent scorching.
Preparing Chili Peppers for Grinding
Once your chili peppers are completely dry, it's time to prepare them for grinding. Before you begin, make sure to wear gloves to protect your hands from the capsaicin, which can cause skin irritation. You may also want to consider wearing a mask to avoid inhaling the chili powder.
- Remove the stems from the dried chili peppers.
- If you prefer a milder chili powder, remove the seeds and membranes from the peppers. The seeds and membranes contain most of the heat, so removing them will result in a less spicy powder.
- Break the chili peppers into smaller pieces to make grinding easier.
Grinding Your Dried Chili Peppers
Grinding your dried chili peppers can be done using a variety of tools, including a mortar and pestle, a coffee grinder, or a spice grinder.
- Place the dried chili pepper pieces into your chosen grinding tool.
- Grind the peppers until they reach your desired consistency. A fine powder is most common, but a coarser grind can add texture to certain dishes.
Be sure to clean your grinding tool thoroughly before and after grinding chili peppers to prevent cross-contamination with other spices or coffee beans.
Storing Your Homemade Chili Powder
Proper storage is crucial for preserving the flavor and shelf life of your homemade chili powder. Follow these tips for optimal storage:
- Store your chili powder in an airtight container, such as a glass jar with a tight-fitting lid. This will help prevent moisture and air from affecting the quality of your powder.
- Keep your chili powder in a cool, dark place, like a pantry or cupboard, away from direct sunlight and heat sources.
- Label your container with the type of chili peppers used and the date it was made, so you can keep track of its age and flavor profile.
Stored properly, homemade chili powder can last for up to two years, but it's best used within six months for optimal flavor.
Using Your Chili Powder in Recipes
Your homemade chili powder is now ready to be used in a variety of recipes. Add it to soups, stews, sauces, rubs, and marinades for a burst of heat and flavor. Remember, a little chili powder can go a long way, so start with a small amount and adjust to taste.
Making your own chili pepper powder at home is a rewarding and cost-effective way to enjoy the flavors of your homegrown chili peppers. With a little time and effort, you can create a customized, high-quality spice blend that will elevate your culinary creations.
Experiment with Blends and Flavors
Don't be afraid to get creative with your homemade chili powder. You can experiment with different types of chili peppers to create unique flavor profiles. Some popular chili pepper varieties to consider include:
- Ancho: Mild, smoky, and slightly sweet.
- Chipotle: Smoky, earthy, and moderately spicy.
- Guajillo: Mild, fruity, and slightly tangy.
- Habanero: Very hot, fruity, and slightly sweet.
- Jalapeño: Medium heat, bright, and vegetal.
You can also create blends of various chili peppers to achieve a more complex flavor. Experiment with different ratios and combinations to find your perfect mix.
In addition to using different chili peppers, consider adding other spices and herbs to your chili powder. Some popular additions include:
- Cumin: Earthy and warm, cumin pairs well with chili peppers and is commonly used in Mexican and Tex-Mex dishes.
- Garlic powder: Pungent and savory, garlic powder can add depth and flavor to your chili powder.
- Oregano: Aromatic and slightly bitter, oregano complements the flavors of chili peppers and is commonly used in Mexican cuisine.
- Paprika: Made from ground sweet peppers, paprika can add color and a mild, sweet flavor to your chili powder.
- Smoked paprika: Similar to regular paprika but with a smoky flavor, smoked paprika can add depth and complexity to your chili powder.
Safety Precautions When Handling Chili Peppers
Working with chili peppers, especially when making chili powder, can cause irritation to your skin, eyes, and respiratory system due to the capsaicin content. To prevent discomfort and potential injury, follow these safety precautions:
- Always wear gloves when handling chili peppers, especially when cutting or grinding them.
- Avoid touching your face, particularly your eyes, nose, and mouth, when working with chili peppers.
- Work in a well-ventilated area to minimize irritation to your respiratory system, and consider wearing a mask if you are handling very hot chilies.
- If you experience any burning or irritation on your skin, wash the affected area with soap and water. If the irritation persists, seek medical advice.
Gifting Your Homemade Chili Powder
Homemade chili powder can make a thoughtful and unique gift for friends and family who love to cook. Package your chili powder in a decorative jar or container, add a personalized label, and include a recipe card with suggestions for using the powder. This is a great way to share your love of chili pepper cultivation and cooking with others.
Conclusion
Making your own chili pepper powder at home is an enjoyable and practical way to use your homegrown chili peppers. With a little time, effort, and creativity, you can produce a customized spice blend that adds depth and flavor to your favorite dishes. Plus, homemade chili powder makes a unique and thoughtful gift for friends and family who share your love of spice. Get started today and discover the satisfaction of creating your own chili powder from scratch.