How to Grow Chili Peppers from Cuttings
Growing your own chili pepper plants is a rewarding and satisfying hobby, but did you know that you can propagate these fiery plants without the need for seeds?
In this guide, we'll explore the fascinating world of growing chili peppers from cuttings. This technique allows you to reproduce your favorite chili varieties, save money on seeds, and enjoy a faster harvest.
Are you a chili pepper lover who wants to learn how to grow chili pepper plants at home? Look no further! Click below to find out which must-have books will guide you through the process of growing your own chili peppers...
Whether you're a seasoned chili grower or a beginner looking to expand your gardening skills, this method offers a unique and enjoyable way to cultivate your own chili plants.
We'll walk you through the entire process of taking cuttings from a healthy chili plant, preparing them for propagation, and caring for your new chili plants as they grow. By the end of this comprehensive guide, you'll be equipped with the knowledge and confidence to successfully grow chili peppers from cuttings.
So, let's dive in and discover the secrets to cultivating a thriving chili pepper garden using this remarkable propagation method.
Table of Contents
Choosing and Preparing Chili Pepper Cuttings
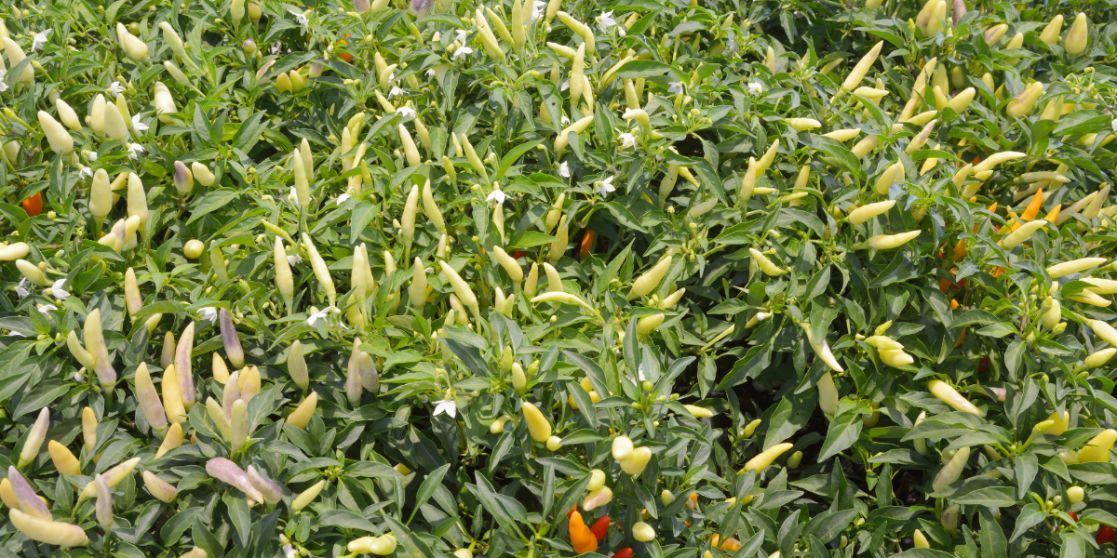
The first step in growing chili peppers from cuttings is to select healthy, disease-free plants to take cuttings from. Look for plants that exhibit strong growth and have plenty of healthy foliage. It's also helpful to choose plants that have proven themselves to be easy to grow, as these varieties tend to root well from cuttings.
Step 1: Select the Right Cutting
When selecting a cutting, choose a stem that is healthy, free from any signs of disease or pest damage, and has at least two sets of leaves. Avoid using flowering stems, as they may not root as easily. The cutting should be about 4-6 inches long.
Step 2: Prepare the Cutting
To prepare the cutting for rooting, remove the lower leaves, leaving only the top two sets of leaves. This helps to reduce moisture loss and encourages the cutting to focus on root development. You may also want to trim the remaining leaves by half to further reduce moisture loss.
Step 3: Apply Rooting Gel or Hormone (Optional)
While not strictly necessary, applying a rooting gel or hormone to the cut end of the stem can improve the chances of successful rooting. Follow the manufacturer's instructions for proper application.
Planting and Rooting Chili Pepper Cuttings
Once your cutting is prepared, it's time to plant and root it. Here's what you'll need to do:
Step 1: Choose the Right Container
Select a planting pot or grow bag with drainage holes that's at least 4 inches in diameter. This will provide enough space for the developing root system.
Step 2: Prepare the Growing Medium
Fill the container with a well-draining, sterile potting mix that is suitable for chili plants. Chili plants prefer a slightly acidic soil, so aim for a pH between 6.0 and 6.8.
Step 3: Plant the Cutting
Make a hole in the center of the growing medium that's deep enough to accommodate the cut end of the stem. Insert the cutting into the hole, making sure that the rooting hormone or gel comes into contact with the soil. Firmly press the soil around the stem to ensure good contact and to eliminate any air pockets.
Step 4: Provide the Right Environment
To promote rooting, provide your cutting with a warm, humid environment, such as a greenhouse or under grow lights. The optimal temperature for rooting chili cuttings is between 70°F and 75°F (21°C to 24°C). You can also cover the pot with a plastic bag or a plastic dome to help maintain humidity. However, be sure to provide some ventilation to prevent mold growth.
Step 5: Water and Monitor
Water the cutting regularly, keeping the soil consistently moist but not waterlogged. Overwatering can lead to root rot, so be careful not to let the soil become soggy. Keep an eye on your cutting for any signs of disease or pest issues and address them promptly using preventative and treatment strategies.
Caring for Your New Chili Pepper Plant
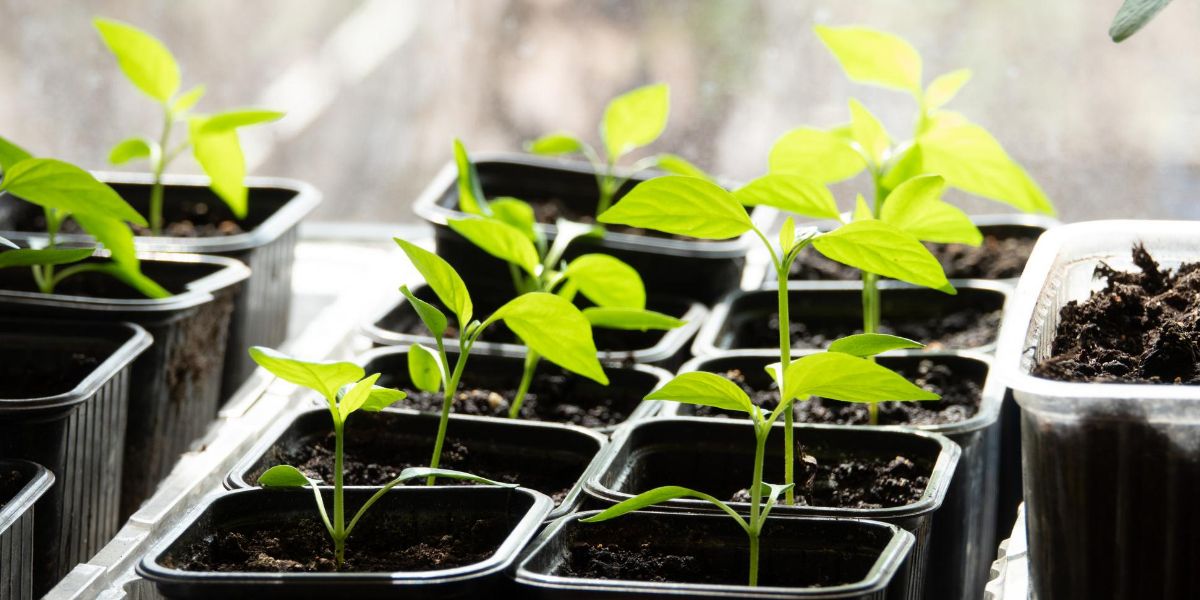
Once your cutting has rooted, which can take anywhere from 2 to 4 weeks, it's time to start caring for it as a new chili pepper plant. Here are some essential care tips to ensure a healthy, productive plant:
Step 1: Transplant to a Larger Container
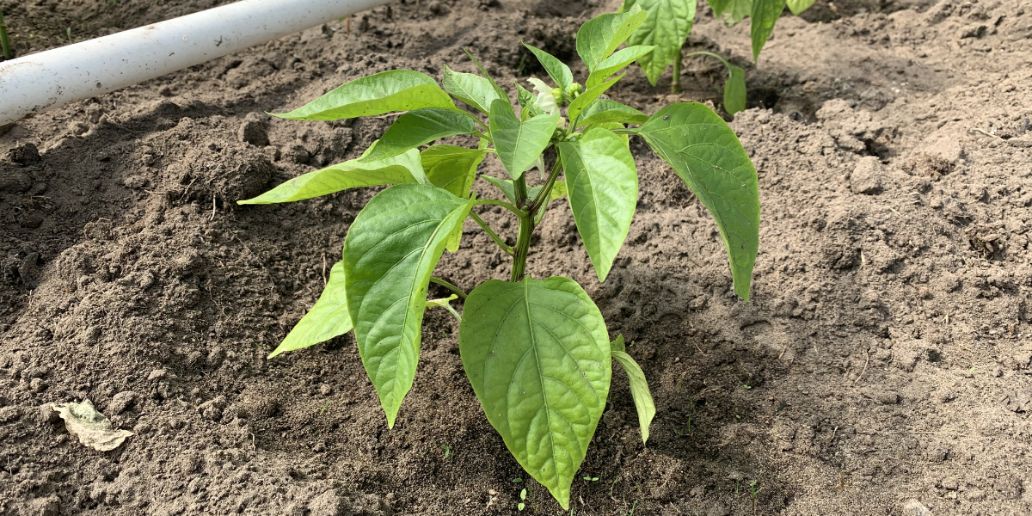
As your chili plant grows, it will need more space for its roots. Transplant it to a larger pot or directly into the ground, depending on your preferred growing method.
Step 2: Provide Adequate Light
Chili plants require plenty of light to thrive. Whether you're growing your plant indoors or outdoors, make sure it receives at least 6 hours of direct sunlight each day. If growing indoors, you may need to use grow lights to supplement natural light.
Step 3: Water and Fertilize Regularly
Chili plants need consistent moisture, so water them regularly, ensuring that the soil doesn't dry out completely between waterings. Additionally, use an organic fertilizer to provide essential nutrients for growth and fruit production.
Step 4: Prune and Provide Support
Regularly prune your chili plant to promote bushy growth and improve air circulation. Use a pair of Fiskars gardening shears or pruners for clean, precise cuts. Depending on the variety, your chili plant may also need support, such as a stake or cage, to prevent it from falling over as it grows.
Step 5: Encourage Pollination
Chili plants typically self-pollinate, but if you're growing them indoors or in a greenhouse, you may need to hand-pollinate to ensure good fruit production.
With these tips and techniques, you'll be well on your way to growing a successful chili pepper garden from cuttings. As you gain experience and explore different chili pepper varieties, you'll discover the satisfaction of propagating your favorite chilies without the need for seeds. Happy growing!