Preparing Your Garden Soil for Optimal Chili Pepper Growth

Growing chili peppers can be a rewarding and flavorful endeavor for both amateur and experienced gardeners. With countless varieties to choose from, ranging from mild to super-hot, there's a chili pepper to suit every palate.
One crucial aspect of successful chili cultivation is preparing your garden soil to create the optimal environment for your chili plants to thrive. By understanding your soil's unique characteristics and making the necessary amendments, you can help ensure a bountiful harvest of delicious, homegrown chilies.
Are you a chili pepper lover who wants to learn how to grow chili pepper plants at home? Look no further! Click below to find out which must-have books will guide you through the process of growing your own chili peppers...
In this article, we'll explore the essential steps to prepare your garden soil for optimal chili pepper growth. We'll cover topics such as assessing your soil's texture, drainage, and pH level, as well as how to amend your soil with the right nutrients and organic matter.
By following these guidelines, you'll be well on your way to nurturing healthy chili plants that produce an abundance of mouthwatering peppers to spice up your culinary creations.
Table of Contents
Understanding the Importance of Soil for Chili Plants
Chili plants thrive in well-draining, nutrient-rich soil with a slightly acidic pH level. The right soil conditions not only promote healthy growth but also help prevent diseases and pests. Learn more about what soil chili plants like to create the ideal environment for your plants.
Step 1: Assess Your Garden Soil
Before making any amendments, it's essential to understand your garden soil's current condition. Start by checking the soil's texture, drainage, and pH level. Visit this article to learn more about the impact of pH levels on chili plant growth and development.
Soil Texture
Chili plants grow best in loamy soil, which is a mixture of sand, silt, and clay. To determine your soil's texture, take a handful of damp soil and squeeze it. If it forms a ball that crumbles easily, it's likely loamy. If it's sticky and hard to break apart, it's clay, and if it's gritty and doesn't hold its shape, it's sandy.
Drainage
Good drainage is essential for chili plants to prevent root rot and other issues. To test your soil's drainage, dig a hole about 12 inches deep and fill it with water. If it takes longer than 4 hours to drain, you need to improve the drainage.
pH Level
Chili plants prefer a slightly acidic soil pH of 6.0-6.8. Use a soil pH test kit to measure the pH level. If it's too acidic (below 6.0), you'll need to add lime. If it's too alkaline (above 6.8), you'll need to add sulfur.
Step 2: Improve Soil Texture and Drainage
If your soil is too sandy, clayey, or doesn't drain well, you'll need to amend it with organic matter.
Amend Sandy Soil
To improve sandy soil, add organic matter such as compost, well-rotted manure, or peat moss. This will increase water retention and provide nutrients to your chili plants.
Amend Clay Soil
For clay soil, add organic matter and coarse sand to improve drainage and aeration. Gypsum can also help break up compacted clay soil.
Improve Drainage
If your soil's drainage is poor, consider installing raised beds or using grow bags to provide better drainage. You can also add coarse sand or perlite to your soil to improve water flow.
Step 3: Adjust Soil pH
After testing your soil's pH level, make the necessary adjustments using lime or sulfur.
Lime
To raise the pH level, add garden lime or dolomite lime. Apply the lime according to the manufacturer's recommendations and mix it well into the soil.
Sulfur
To lower the pH level, add elemental sulfur or aluminum sulfate. Follow the manufacturer's instructions for the correct application rate, and mix it thoroughly into the soil.
Step 4: Add Nutrients and Fertilizers
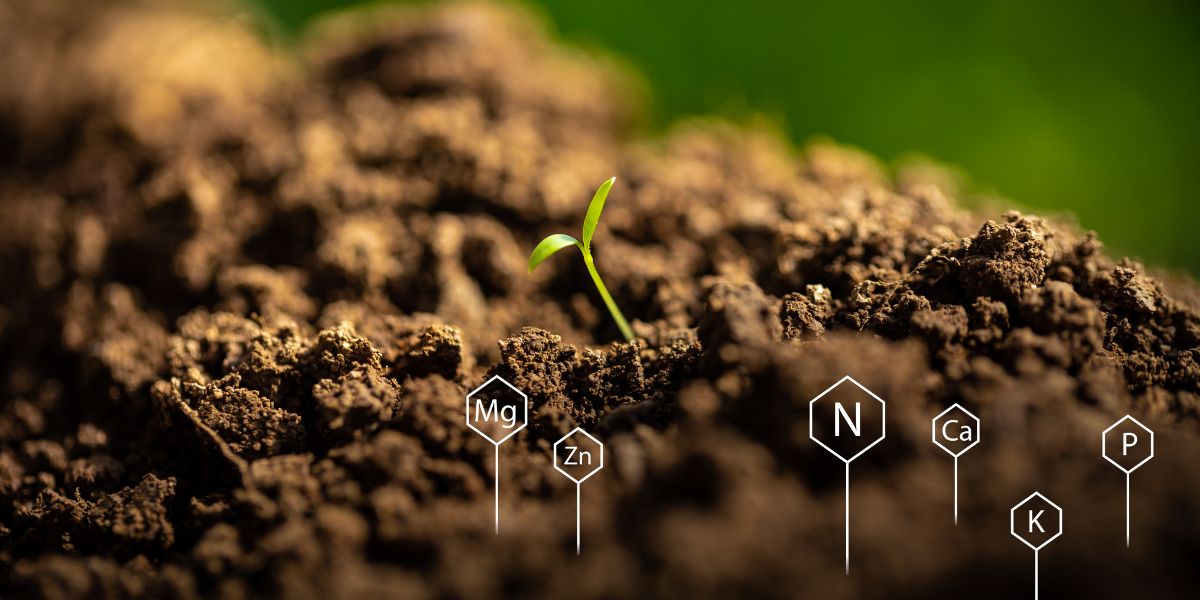
Chili plants require essential nutrients, such as nitrogen, phosphorus, and potassium, for optimal growth. Use an organic chili pepper fertilizer to nourish your plants naturally. Compost, well-rotted manure, and worm castings are also excellent sources of nutrients.
Nitrogen
Nitrogen promotes healthy foliage growth. If your soil is low in nitrogen, add blood meal, fish meal, or alfalfa meal.
Phosphorus
Phosphorus aids in root development and fruit production. For phosphorus-deficient soil, add bone meal or rock phosphate.
Potassium
Potassium is essential for overall plant health, including disease resistance and fruit quality. If your soil lacks potassium, add greensand or sulfate of potash.
Micronutrients
Chili plants also need micronutrients like calcium, magnesium, and iron for proper growth. Epsom salt can provide magnesium, while gypsum or lime can supply calcium. Iron chelates can be added to address iron deficiencies.
Step 5: Prepare the Planting Area
Once your soil is amended, it's time to prepare the planting area for your chili plants.
- Clear the area of weeds, rocks, and debris.
- Loosen the soil to a depth of at least 12 inches using a garden fork or tiller.
- Mix in the organic matter and fertilizers, ensuring even distribution.
- Level the soil surface and let it settle for a week or two before planting.
Step 6: Plant Your Chili Plants
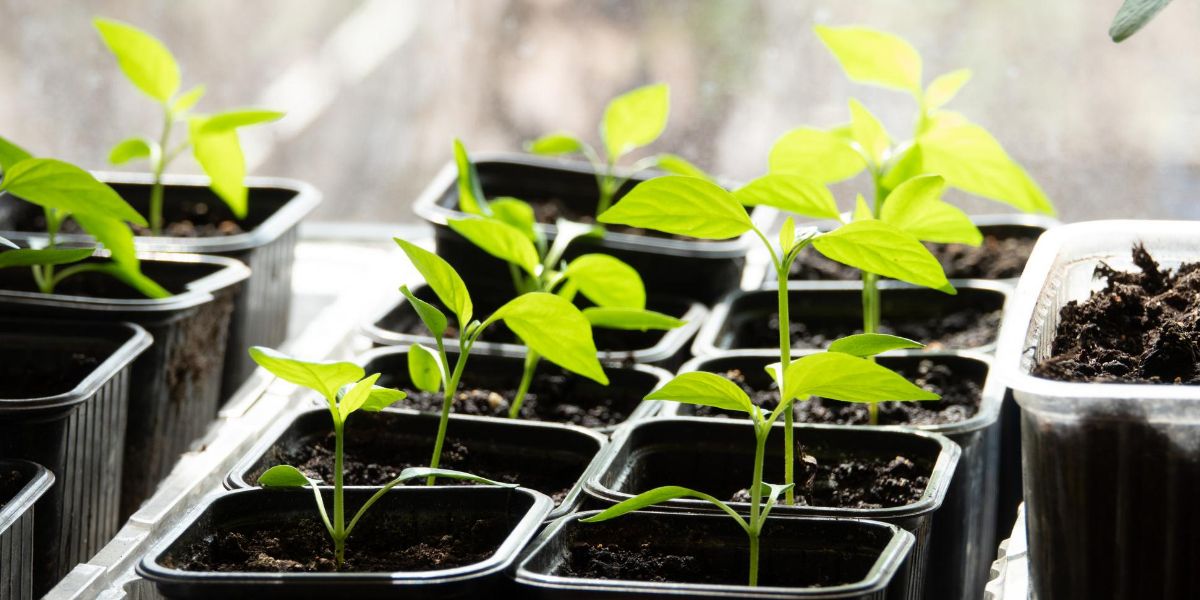
Now that your soil is prepared, you're ready to plant your chili plants. Refer to this guide on growing chili from seeds, or transplant your seedlings or established plants into the prepared soil.
Remember to provide support to your chili plants if necessary, using stakes, cages, or trellises. Learn more about whether chili plants need support and how to properly stake them.
Conclusion
Preparing your garden soil for optimal chili pepper growth is essential for a healthy and bountiful harvest. By understanding your soil's texture, drainage, and pH level, and making the necessary amendments, you'll provide the ideal environment for your chili plants to thrive. Don't forget to check out our other articles on chili pepper growing tips and chili varieties to make the most of your chili-growing experience.


